Are you ready to move beyond auto mode and take full control of your camera? Understanding and mastering advanced camera settings is key to creating professional-quality images. In this article, we’ll dive into some of the most important settings and how to use them effectively.
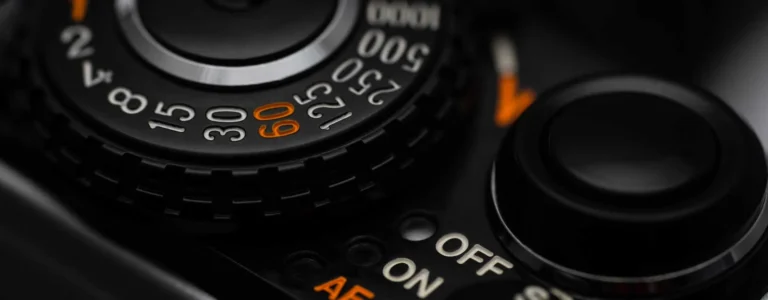
Understanding the Exposure Triangle: ISO, Aperture, and Shutter Speed
The exposure triangle is the foundation of photography. It consists of ISO, aperture, and shutter speed, and how you balance these three elements determines the exposure and overall look of your photo.
- ISO: Controls the camera’s sensitivity to light. A lower ISO (100-400) is ideal for bright conditions, while a higher ISO (800-3200) is better for low light but can introduce noise.
- Aperture (f-stop): Determines the size of the lens opening, affecting the depth of field. A lower f-stop (e.g., f/2.8) creates a shallow depth of field, while a higher f-stop (e.g., f/16) keeps more of the scene in focus.
- Shutter Speed: Controls how long the camera’s sensor is exposed to light. A fast shutter speed (e.g., 1/1000s) freezes motion, while a slower speed (e.g., 1/30s) can create motion blur.
Tips for Balancing the Exposure Triangle:
- Use aperture priority mode (A or Av) when you want to control depth of field and let the camera adjust the shutter speed.
- Use shutter priority mode (S or Tv) to control motion, allowing the camera to adjust the aperture.
- In manual mode, balance all three settings to achieve the desired exposure.
Manual Focus vs. Autofocus: When and How to Use Each
Autofocus is convenient, but there are situations where manual focus is essential, especially in low-light conditions, macro photography, or when shooting through obstacles.
Tips for Using Manual Focus:
- Switch to manual focus when your camera struggles to lock onto the subject, such as in low light or with low contrast scenes.
- Use focus peaking (if available) to highlight in-focus areas on your camera’s display.
- Zoom in on your subject in live view to fine-tune focus, especially for close-up shots.
Custom White Balance: Getting Accurate Colors in Any Situation
White balance controls the color temperature of your photos, ensuring that whites appear white rather than yellowish or bluish. While auto white balance is often reliable, setting a custom white balance is crucial in challenging lighting conditions.
Tips for Setting Custom White Balance:
- Use a gray card or white sheet of paper as a reference to set your custom white balance.
- Adjust the white balance in your camera’s menu based on the light source (e.g., daylight, tungsten, fluorescent).
- For mixed lighting, take a test shot and adjust the white balance until the colors look natural.
Bracketing for HDR: Capturing a Wide Range of Exposure
High Dynamic Range (HDR) photography involves taking multiple shots at different exposures and blending them to capture a wide range of light and dark details. Bracketing is a technique that automatically takes several shots at different exposures.
Tips for Using Bracketing:
- Set your camera to bracketing mode and choose the number of shots (typically 3-5) and exposure increments.
- Use a tripod to keep the camera steady during the sequence of shots.
- Merge the bracketed shots in post-processing software to create an HDR image with a broad dynamic range.
The Power of RAW: Why Shooting in RAW Format Can Save Your Photos
RAW files contain all the data captured by your camera’s sensor, offering greater flexibility in post-processing compared to JPEGs. Shooting in RAW allows you to recover details in shadows and highlights, adjust white balance, and fine-tune exposure without degrading image quality.
Tips for Shooting in RAW:
- Enable RAW format in your camera’s settings (you can also shoot RAW+JPEG if you want immediate previews).
- Use editing software like Adobe Lightroom or Photoshop to process RAW files.
- Take advantage of RAW’s flexibility to make adjustments in post-processing, such as exposure correction, color grading, and noise reduction.
Conclusion:
Mastering advanced camera settings is essential for taking your photography to a professional level. By understanding the exposure triangle, knowing when to use manual focus, setting custom white balance, utilizing bracketing, and shooting in RAW, you’ll gain full control over your images and be able to capture stunning photos in any situation. Don’t be afraid to experiment with these settings—practice is the best way to learn!